 Today, I invited a big group of friends to come see my newest client’s space at the Palace of Fine Arts. I’m working with a neat organization at an incredible location, and thought it would be an unexpected and fun place for a social get together.
Of course, anytime you’re going to be seeing friends, feeding them is half the fun! My social circle is a fun-loving and diverse crew of folks from all manner of backgrounds – busy, intelligent professionals who enjoy cultural activities and time together celebrating life. For a while, a core of the group had ties to Minnesota, and so we named ourselves the MN Mafia. As we realized the group was growing beyond just the Midwest connections, we renamed ourselves for another thing we all love; we’re now the Champagne Mafia. Think concerts at the park, competitive urban picnicking, museum adventures, day trips to wine country…
Today’s meal challenge: a large group of people, size unknown due to last minute additions and cancellations. We’d be doing a tour first, so brunch would have to be something that wouldn’t need to be served hot and also didn’t need to be kept cold. Vegetarian, and maybe even a vegan option or two, no peppers, nothing spicy. Easy to transport from home. About an hour of total prep/cooking time that would also have to include time to shower… Easy! Frittata. And, of course, mimosas. And maybe a doughnut or two, if there was time to stop and pick some up. Here’s how it went down, instruction style:
Step one: Warm up the oven. Don’t bother checking to see if anything is inside. Crank it up high, because it’s 7am and you’re cold.
Step two: Get out the mixed baby red and yellow potatoes. Only half of them, because you’re not totally awake and not sure how many you should use. Quarter them. Begin thinking you probably didn’t need to turn the oven up quite so far. Get out an onion. Slice it in half. Then rinse it – this takes the sting out and loosens the paper outer layer. Begin chopping it up small. Think one more time about the oven being too hot and decide to turn it off after you finish slicing. Get out the other half of the potatoes and quarter those, too.
Step three: Startle at a loud *POP!* as your giant Pyrex lasagna pan, left empty and forgotten on the bottom shelf of the oven from its most recent duty as a steam bath for bread baking, bursts into a thousand pieces.
Step four: Realize what the sound was. Curse softly to yourself and recognize that your intuition told you to check that a few minutes ago. Curse yourself for blowing up your lasagna pan. Congratulate yourself on not slicing off any fingers when you jumped at the sound. Rinse your hands and turn off the oven. Open the door, and take in the damage… At least you’re now awake, and no longer cold.
Step five: Nothing to do about the glass until the oven cools down, so finish chopping the potatoes, onions, and half a bulb of fresh garlic. Layer a medium mixing bowl as follows: potatoes, onions, garlic, salt, olive oil. This way the garlic and onion will permeate the olive oil as it marinades the potatoes.
 Step six: Now, fetch your herb scissors and gathering basket and go out to the garden. Gather sage, rosemary and oregano – at least you think it’s oregano. It might be basil, but both plants are so woody and leggy after the winter it’s almost hard to tell. Cut a stalk/branch of both. Head back to the kitchen, and bring along the gardening gloves. Realize it would be easy to change the mood by turning on some music – find a nice indie folk rock mix on Pandora, but don’t turn it up too loudly because you don’t want to wake your partner. Remember you meant to get out your apron.
Step seven: The oven is still too hot to mess with the broken glass chunks, so go back to chopping vegetables. Rinse the green beans, carrots, broccoli and cauliflower. Chop them up very small – tiny, maybe 1″, smaller than bite sized. Then, wash the herbs you just gathered. Layer your veg in a large mixing bowl as you chop so you don’t crowd your cutting board or make a huge mess on your counter.
Step eight: Give in to the inevitable: You won’t be able to bake your fritatta if you don’t clean the glass up and turn the oven back on. Put on the gardening gloves, fetch the trash can, and start picking up and tossing the shards of your once-lovely large Pyrex pan. Congratulate yourself on remembering you own garden gloves to protect your fingers as your carefully pick up the pieces. Realize your fingers are too thick to fit in the crevices. Wish you had a shop vac handy. Then realize the bottom of your incredibly fabulous and ingeniously-designed oven LIFTS OUT for cleaning! Get all the large pieces by hand, and then go find the dustbuster in the bedroom where you inevitably wake up your sweetie who has somehow managed to sleep through an hour of chopping, explosions, cursing, music, and entering/exiting the house to the garden. Finish cleaning the entire interior of your stove, because you might as well at this point, right? Then, close the door and turn it on to about 325-350. It’s now about 8:15am.
 Step nine: Answer your barely-awake sweetie, who is gawking at the mountain of vegetables and the vacuum cleaner next to the oven, by telling him, “No, we are not having a large salad for breakfast.” Realize you can’t find your parchment paper, and ask said sweetie if he’d go find it downstairs. Kisses when he comes back, and then line your two big baking sheets with parchment. Flip your bowl of prepped potatoes onto one of the parchment lined sheets, and massage the garlic- and onion-infused oil into all the edges of your potatoes, spreading evenly into the corners of the pan. Lay a few sprigs of freshly washed, freshly harvested rosemary over the whole mess and stick it right into your nicely cleaned re-heating oven.
Step ten: Now, prep the eggs: Start cracking, and wonder how many people will show up. Think about that a fair bit while you keep cracking, and question whether you might add just one more. Decide that if you’re cracking 10 eggs, you might as well do 12… and then do two more just to be on the safe side, in case extra friends show up. Wonder what else you put into fritatta, and then remember you don’t have milk. Oh, but you do have yogurt. So get out the yogurt and add a few dollops to the eggs as you begin to whisk them. Realize you probably picked the wrong sized bowl to hand-wisk 14 eggs and that your clumpy yogurt is never going to get smooth by hand, and transfer the whole mess to your Kitchen Aid, where you should have started in the first place. Turn it on, thankful you don’t have to hand whisk it, and begin to think about other herbs. Obviously, oregano, parsley. Also add salt, pepper, and cumin. Because eggs are delicious with cumin. Really.
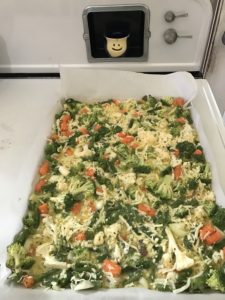 Step eleven: Make sure your parchment is plenty big, with tall sides and nicely creased edges. Spread evenly the whole mess of veg into the corners of the pan. Turn off the Kitchen Aide, which has meanwhile perfectly beaten the eggs into a nice airy whip with no yogurt lumps, and pour the egg/herb mix all over the veg. Tip the pan to evenly distribute the eggs. Remember you didn’t add the cheese. Find the shredded mozzarella in the fridge, and scatter a handful or three across the pan; massage the cheese into the eggs and veg as though it had been there all along. Slide it into the oven and close the door. Set the adorable timer on the little retro wall clock you bought yourself for your birthday to about half an hour, as you note it’s now about 9:30am. Go shower.
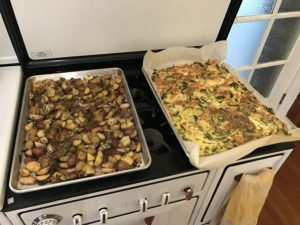 Step twelve: Admire your beautifully browning potatoes and fritatta in the oven. Remove both pans from the oven to begin to cool on the counter. Pull out two more lengths of parchment and some nice clean dish towels. Putter around, getting dressed and ready to leave. When you’re just about ready to load the car, lay a fresh sheet of parchment over the fritatta, and then layer a nice clean dishtowel, folded in half. Place the second pan, with the potatoes on top of the fritatta pan, and then add a parchment sheet and another clean towel. This way, they’ll stay warm and stack nicely in the trunk. Find your car keys, which are not where they belong. Remember the champagne. Also remember you promised to bring a friend’s left-behind umbrella and congratulate yourself on remembering something. Leave the house right on time a few minutes after 10am, with your sweetheart, a lovely pan of perfectly baked fritatta and some golden-roasted potatoes that smell divine.
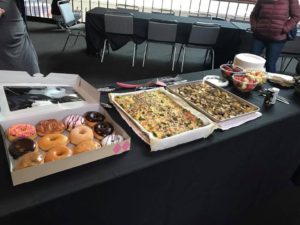
Step thirteen: Stop by the grocery for orange juice, and snag a few extra bottles of champagne and some donuts from the bakery case while you’re there because they look fresh and smell yeasty and sweet. Arrive on time to your destination, feeling remarkably accomplished for 11am on a Sunday.
Last step, fourteen: Hug your friends as they arrive. Have a fun tour. Toast to future possibilities. And, enjoy a lovely brunch together on a sunny Sunday morning.



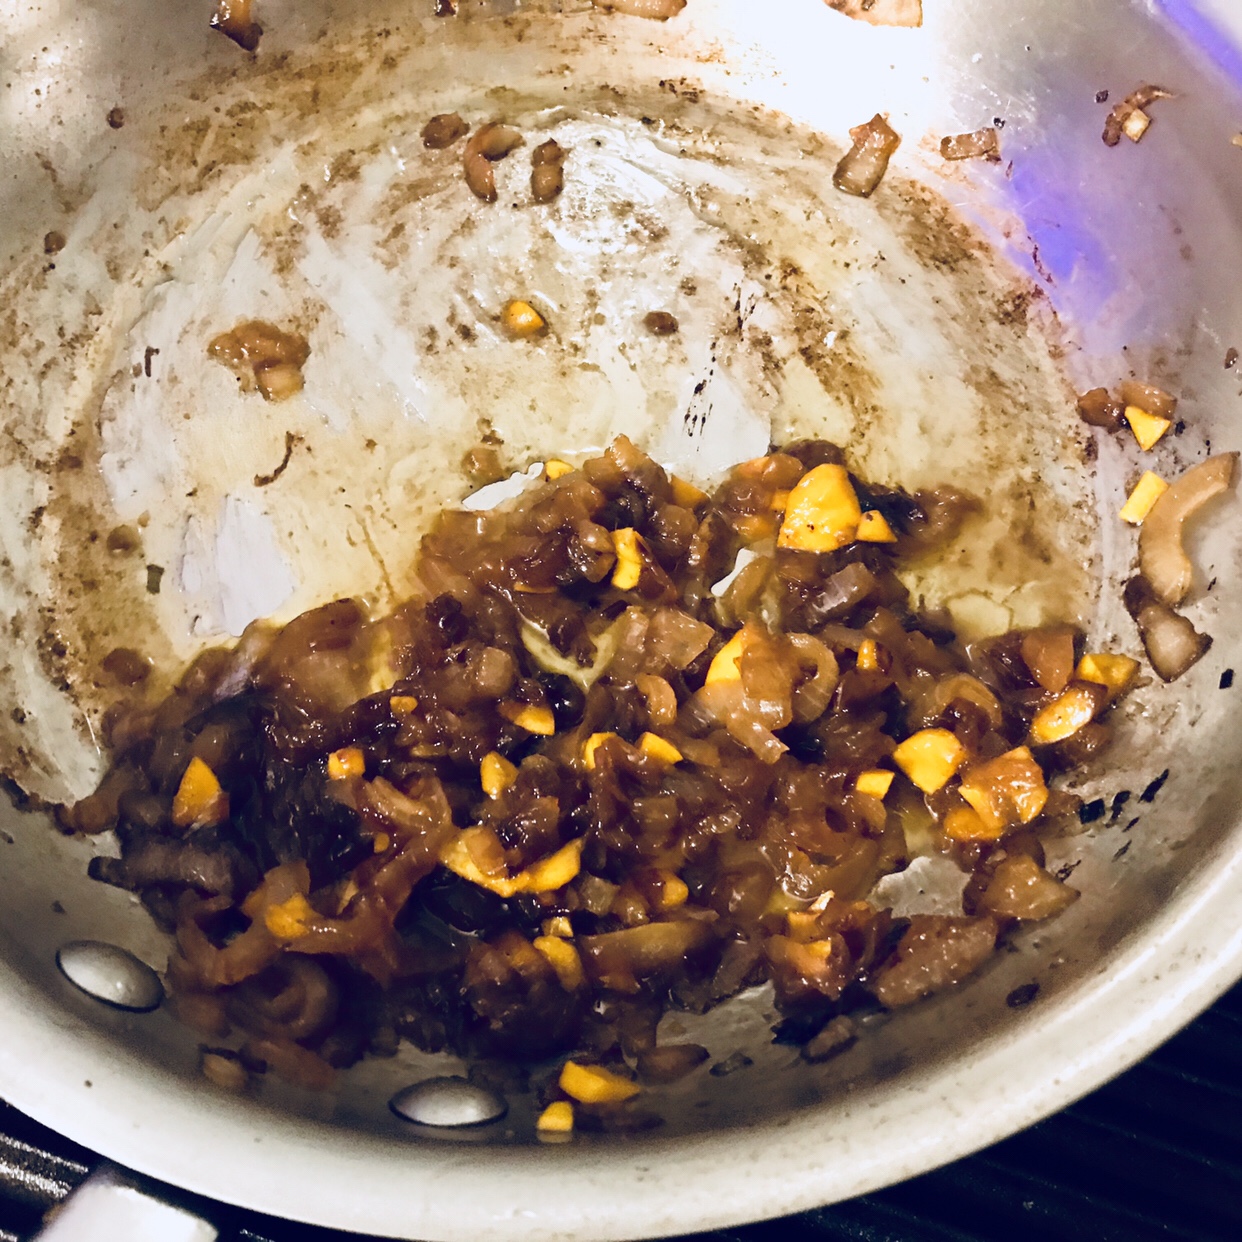

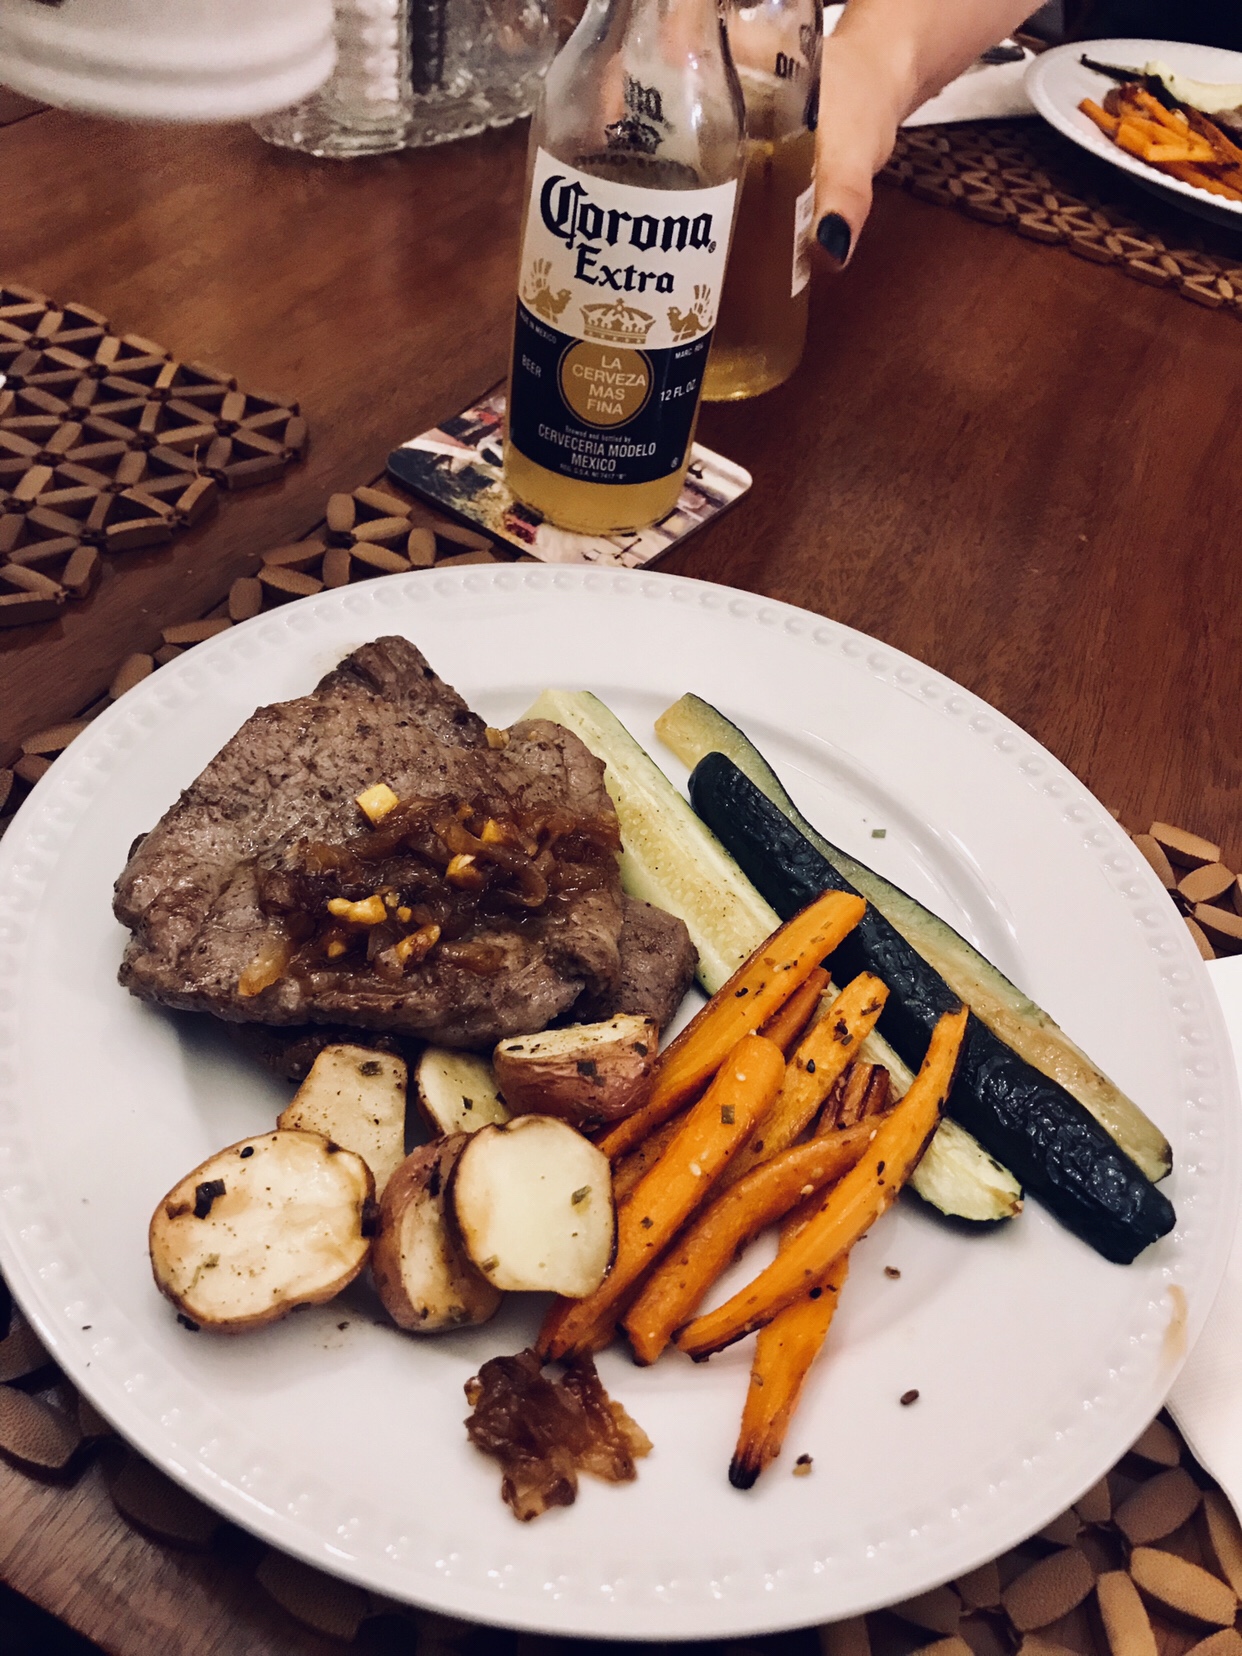


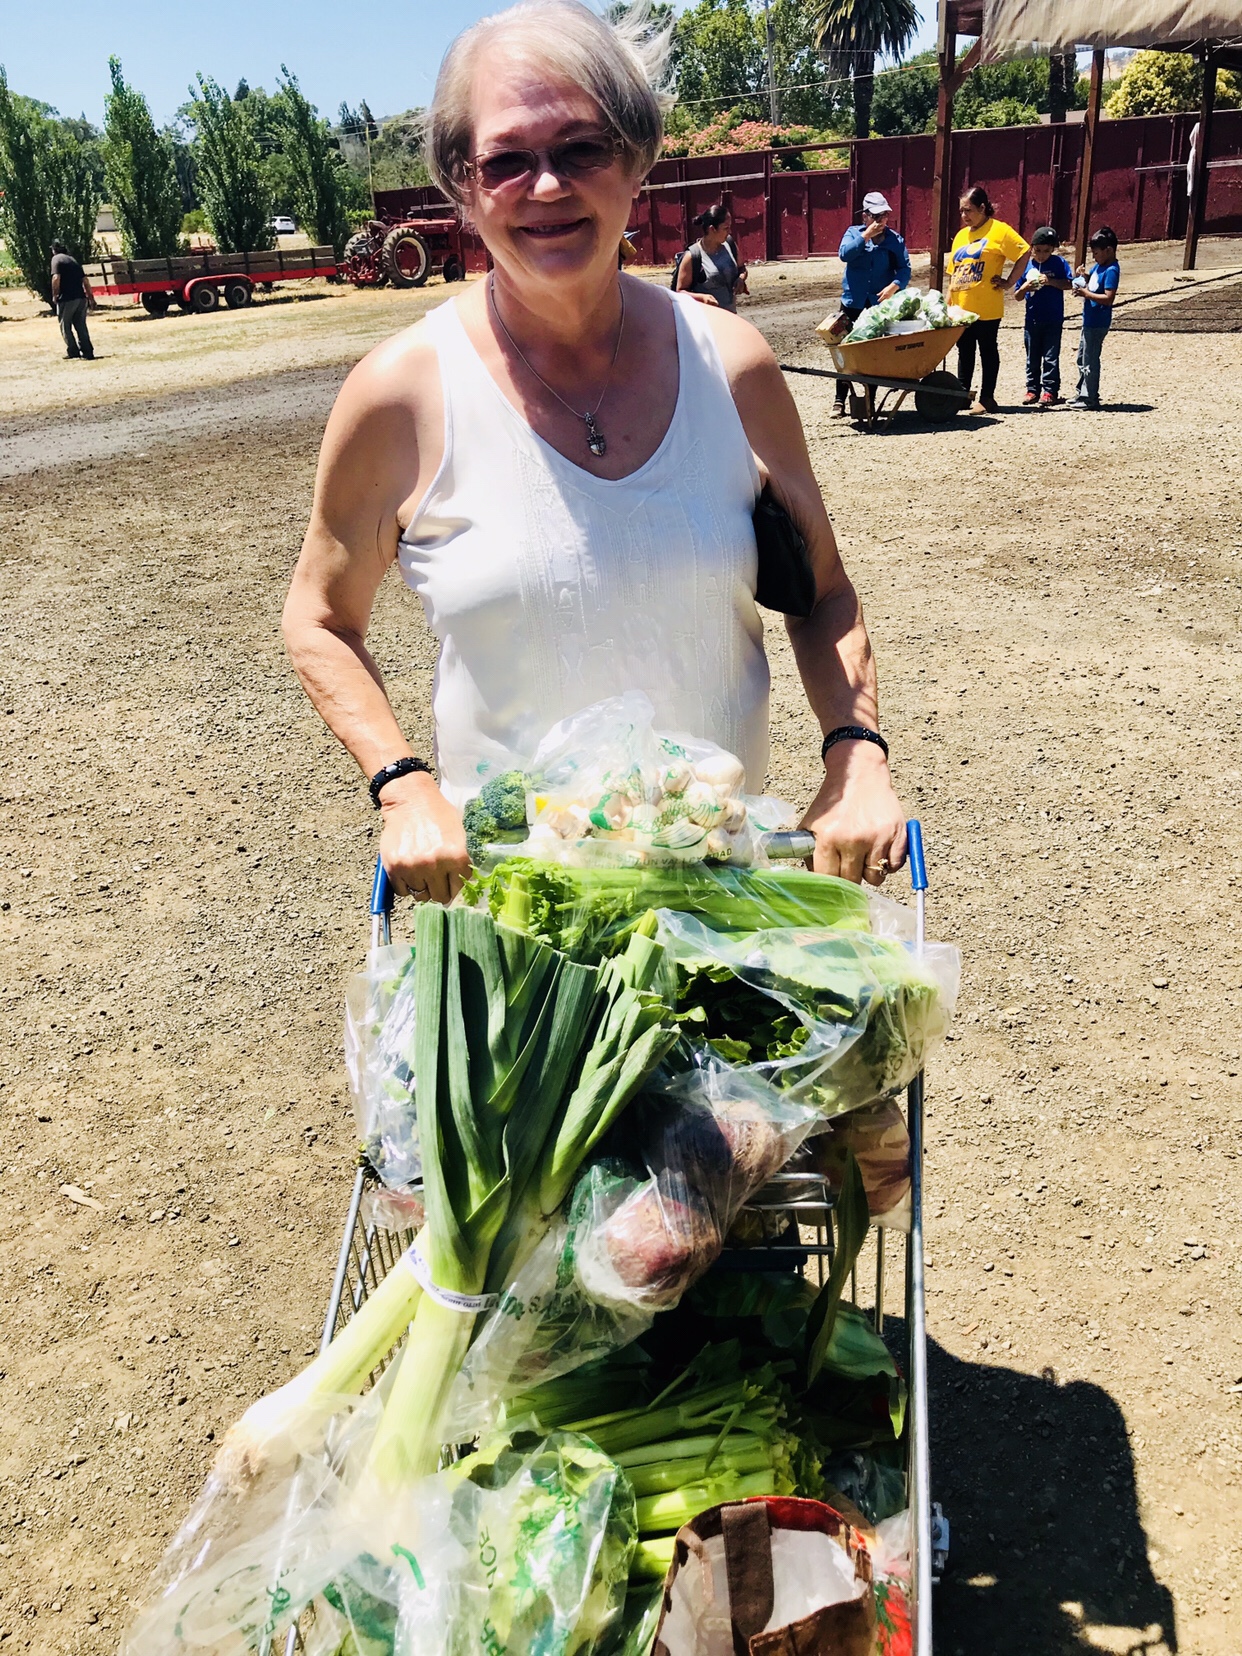

 Next came a giant pile of thinly sliced leeks. One recipe I found calls for 12 small leeks; I decided that three giant ones were roughly equivalent. The other primary traditional seasoning is Bayleaf, and of course, pepper.
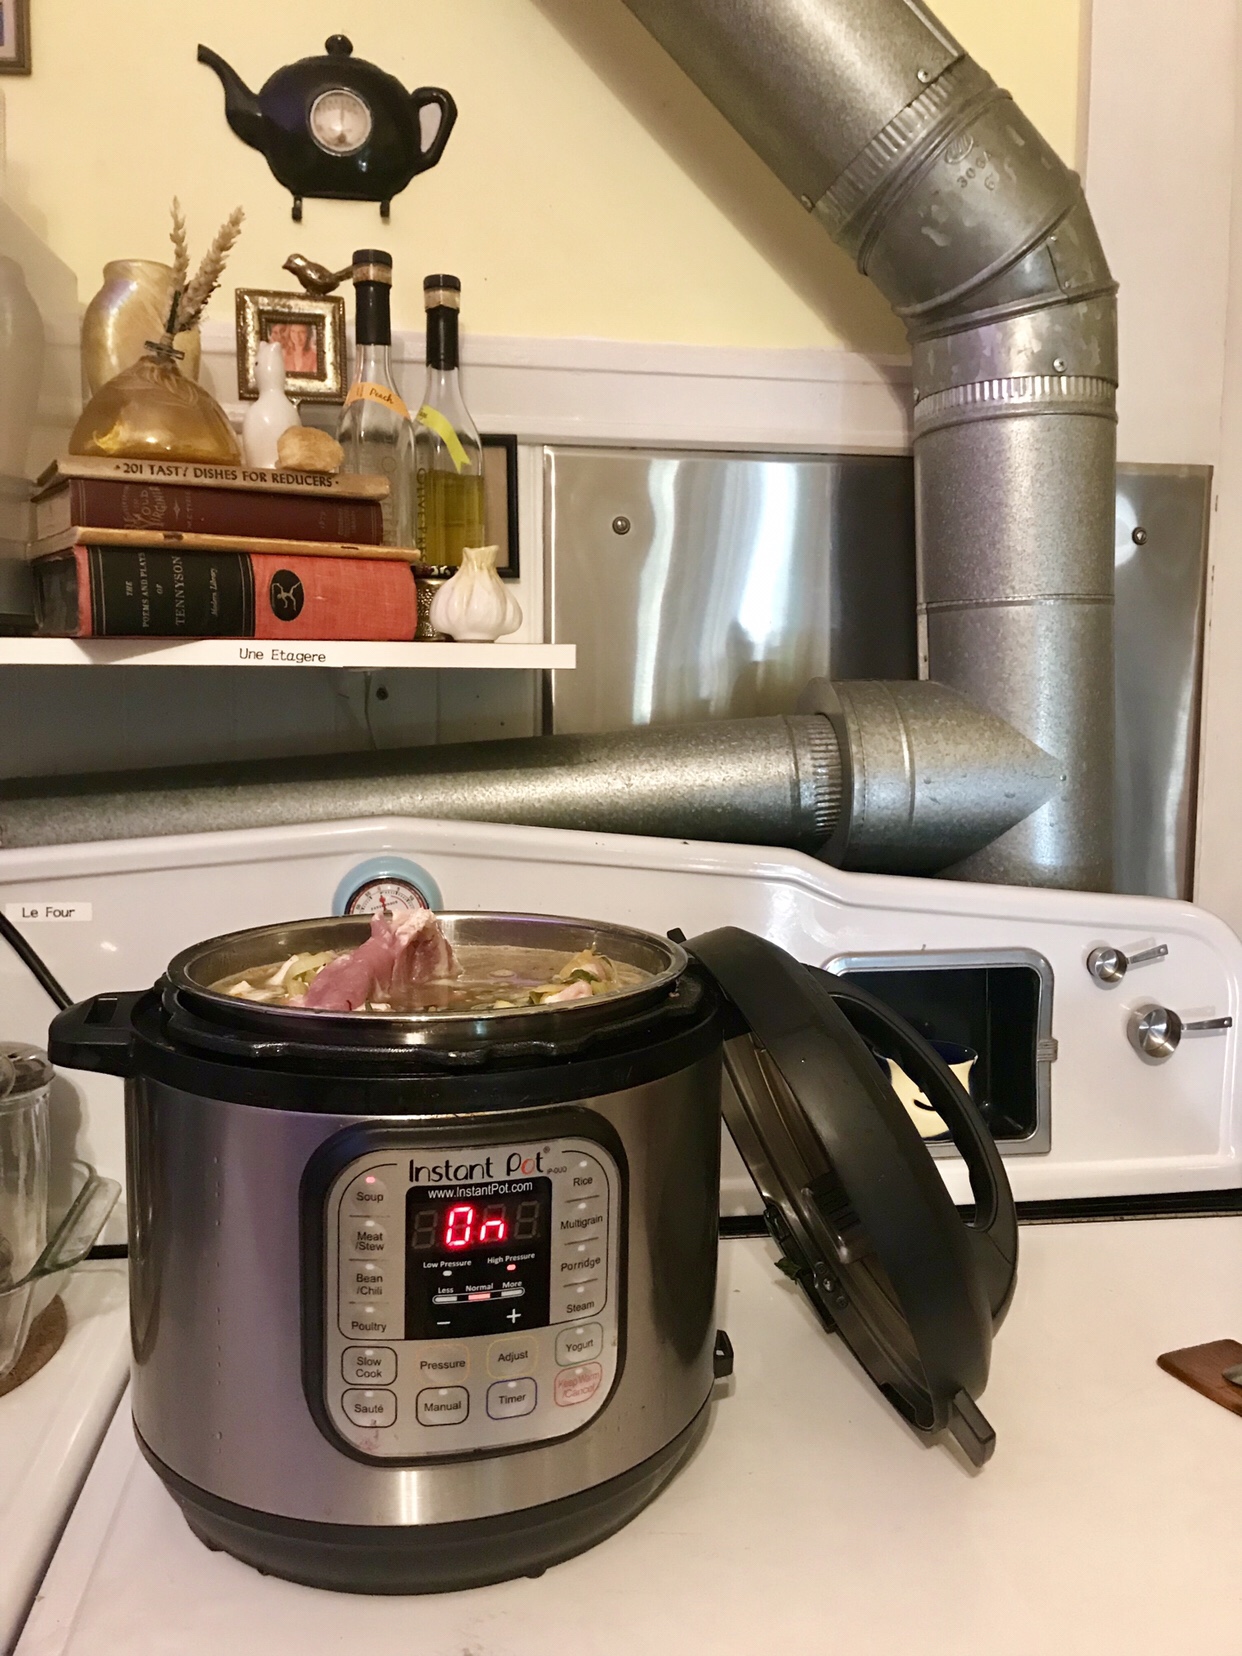 It really is pretty much that simple:
 I will garnish with some dried fruit, probably apricots and cherries. I don’t believe I have prunes this week. And, owing to a habit of my great aunt Margaret’s, I adore a dollop of sour cream on my chicken soup. All in, including pulling everything out, chopping everything up, washing the cutting board and knife and putting everything away, and hitting start on the Instant Pot, this was about 20 minutes of prep time.
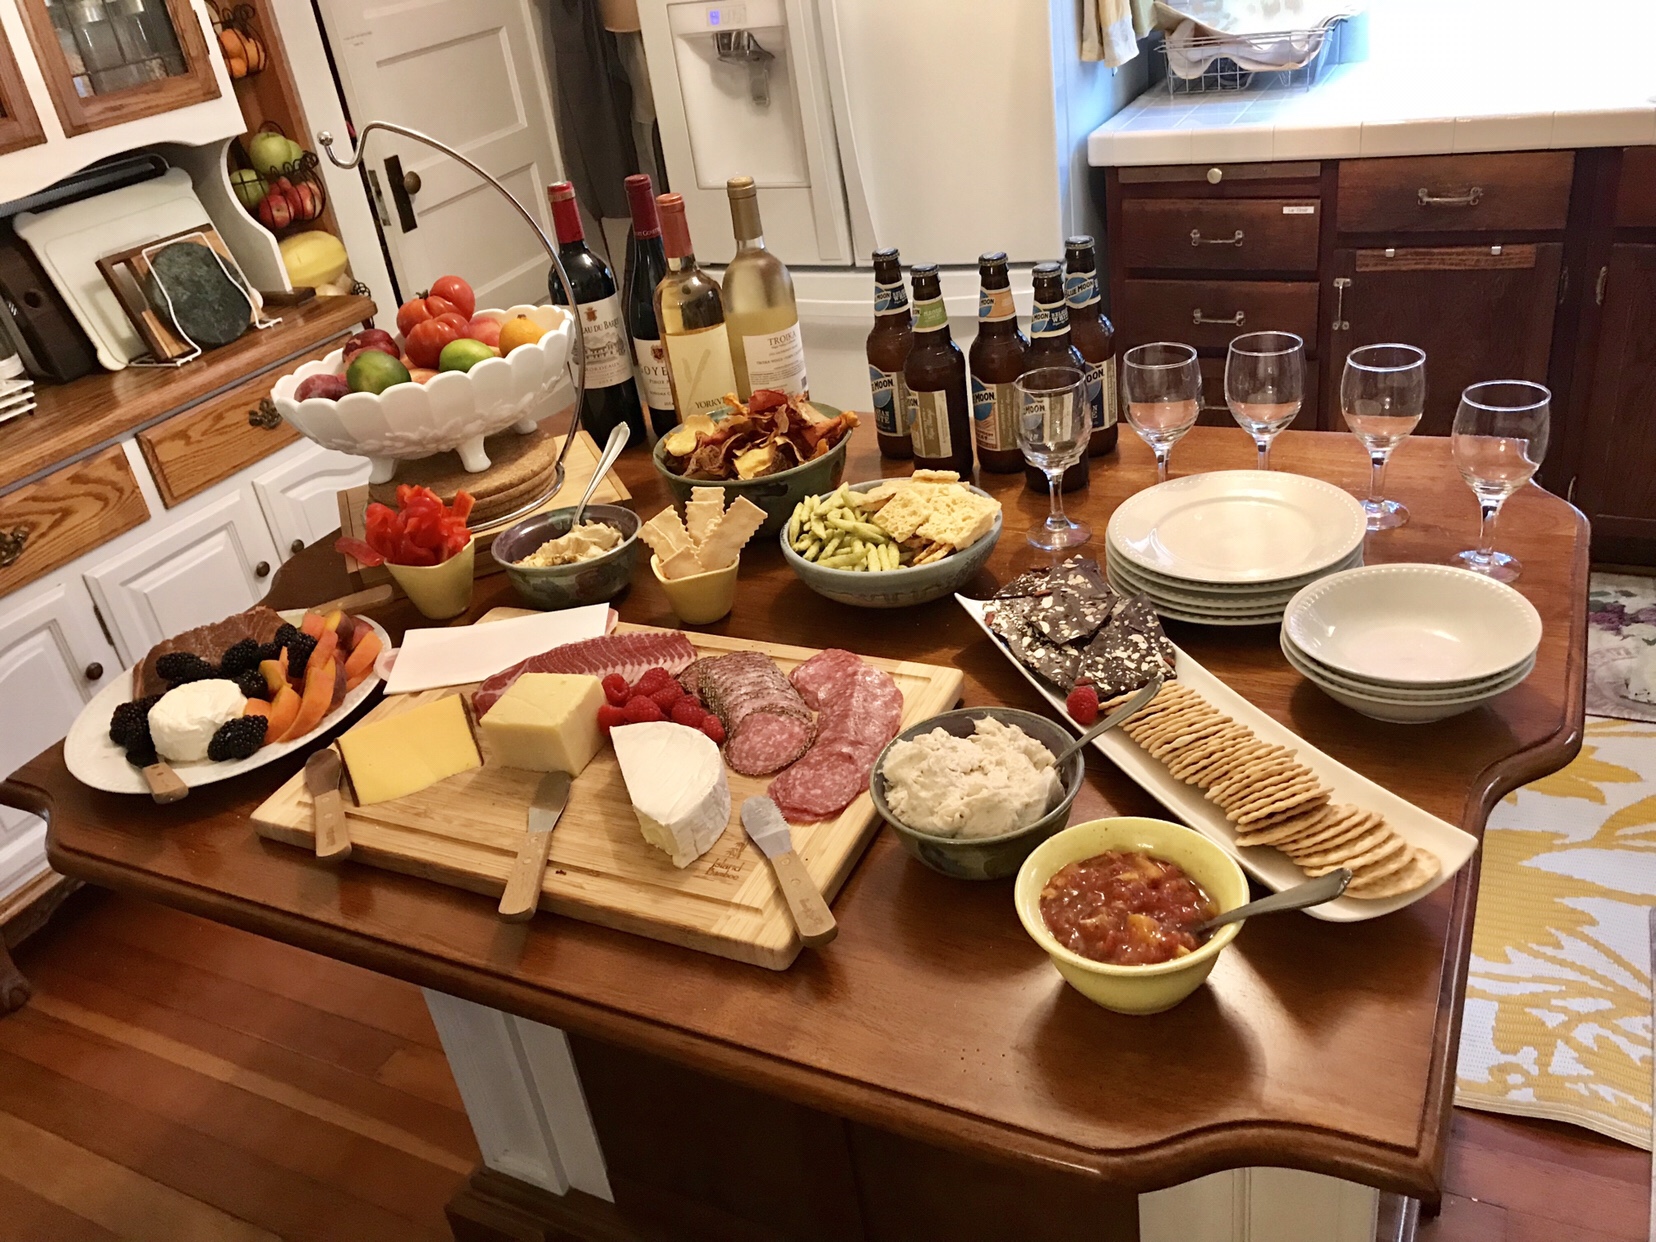 After an over-the-top spread of cheeses and smoked fish and fruit and wine at home, we headed out.

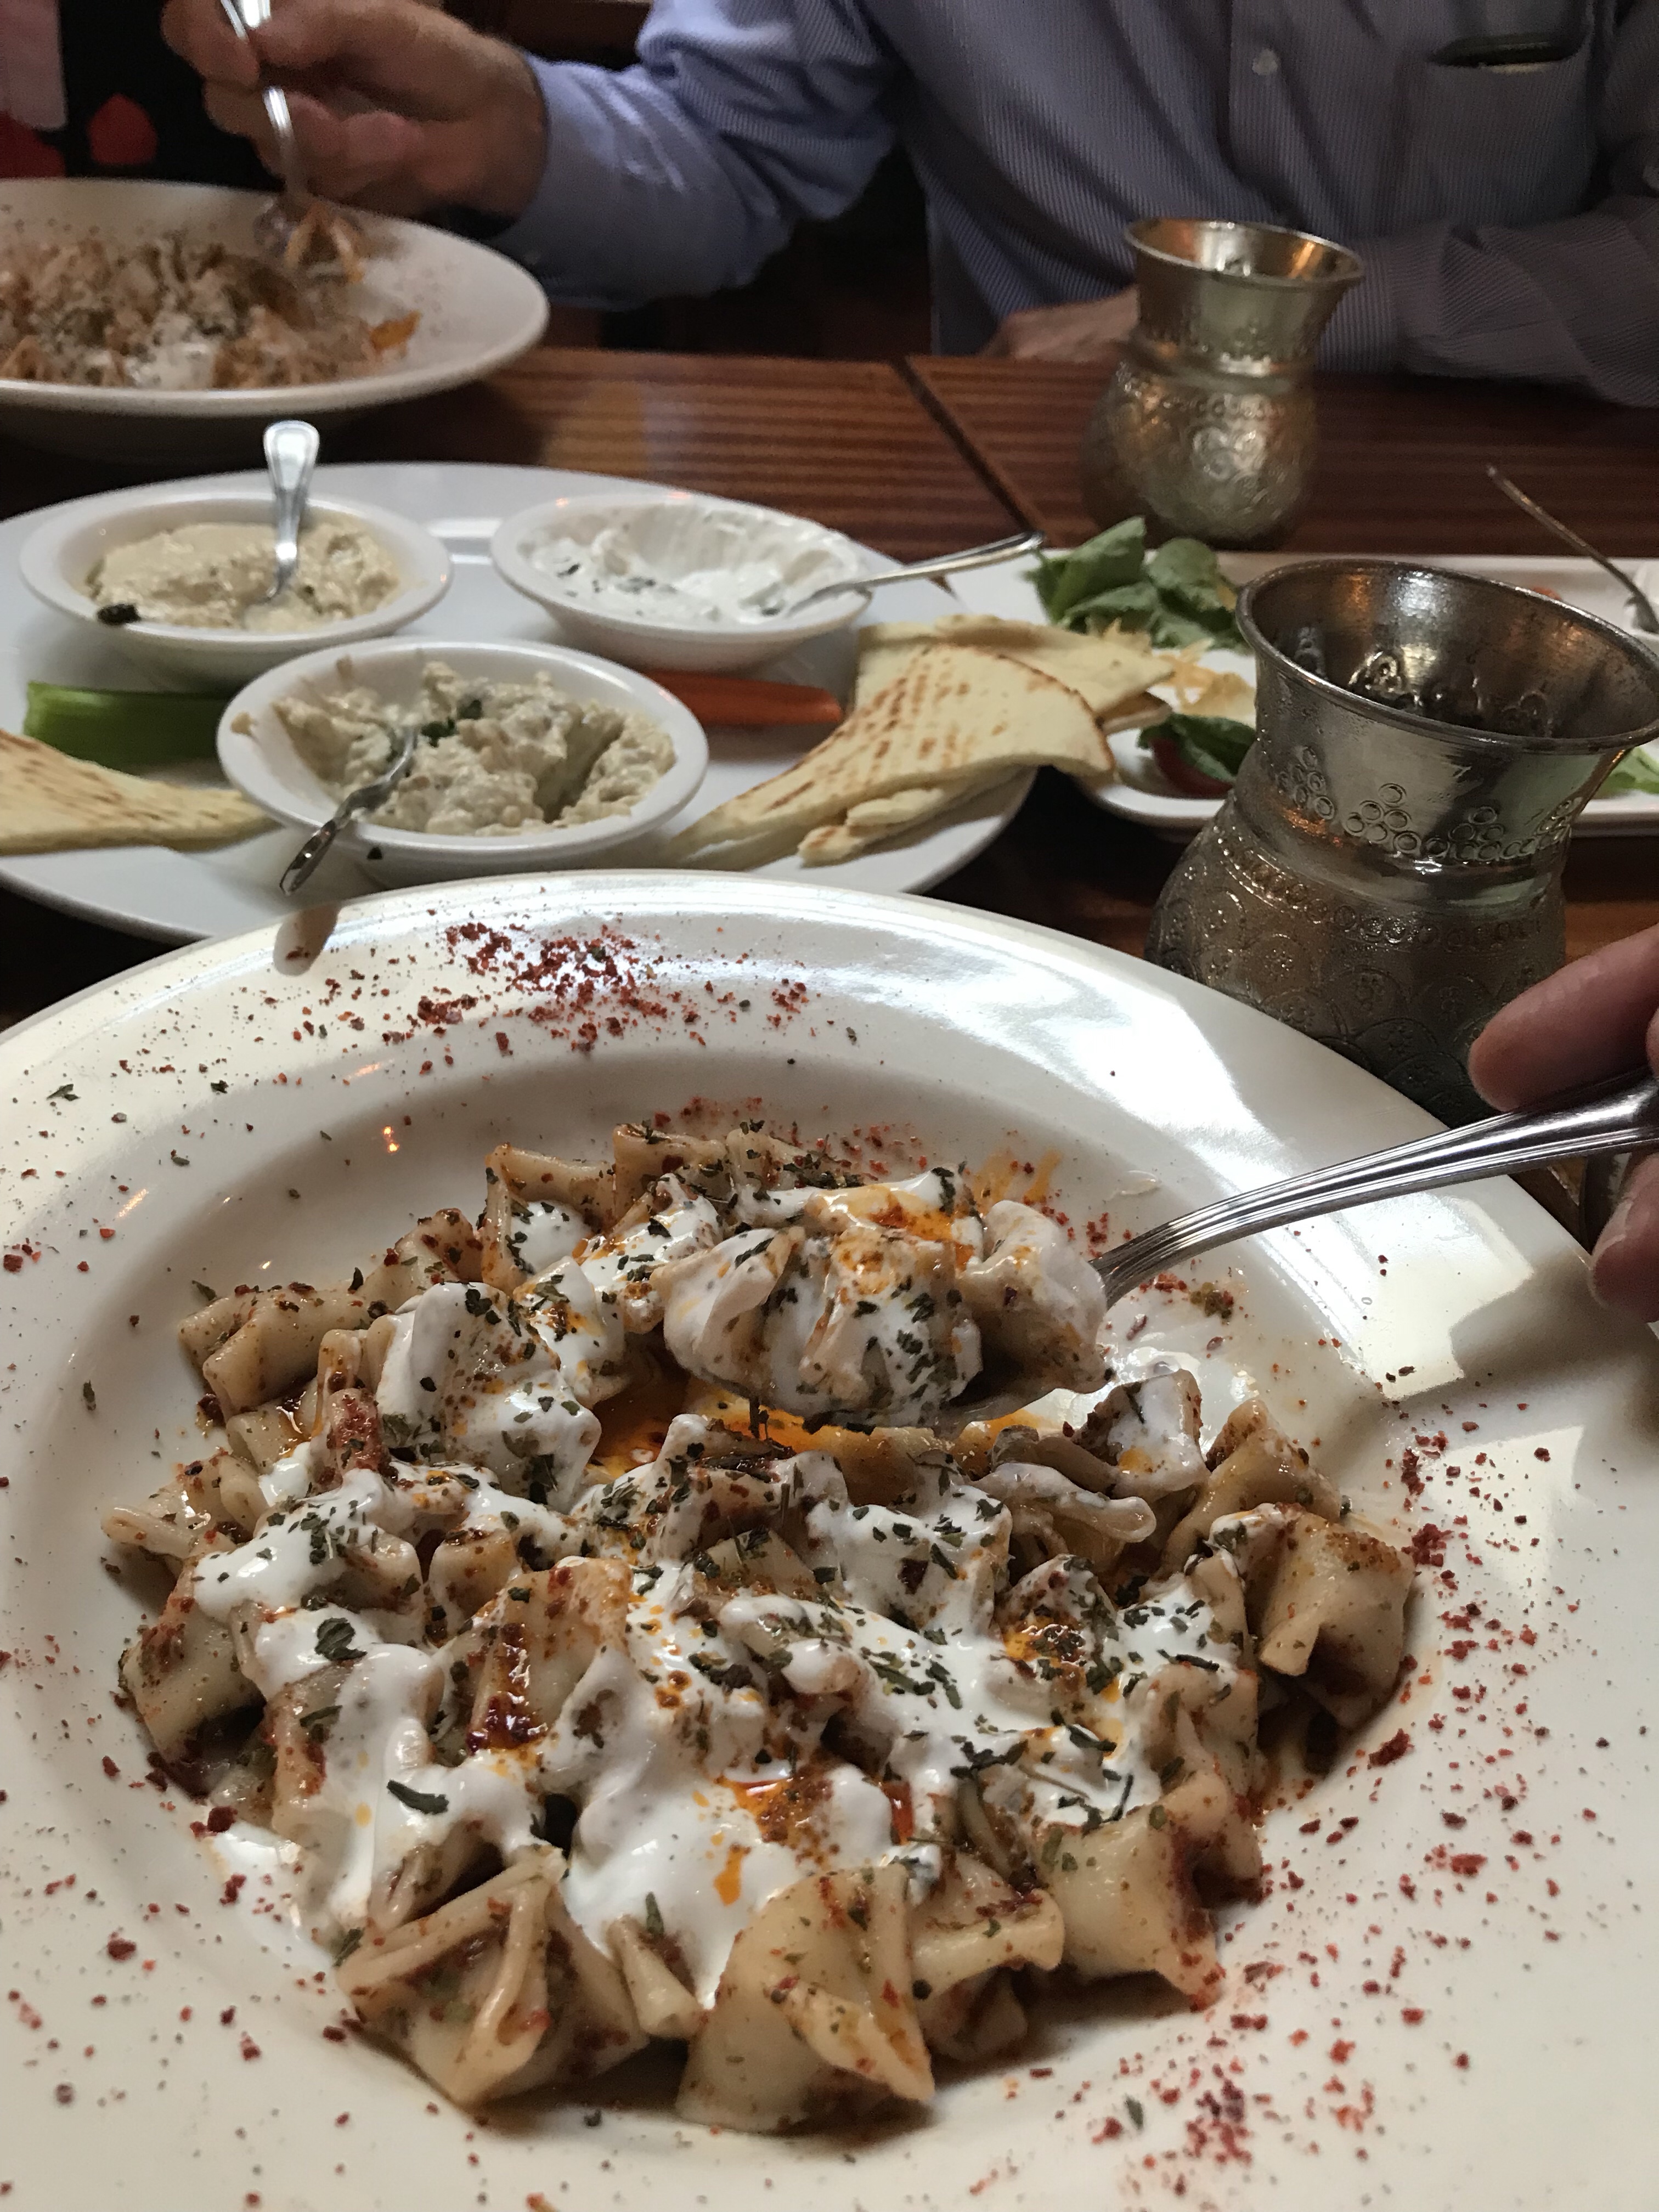
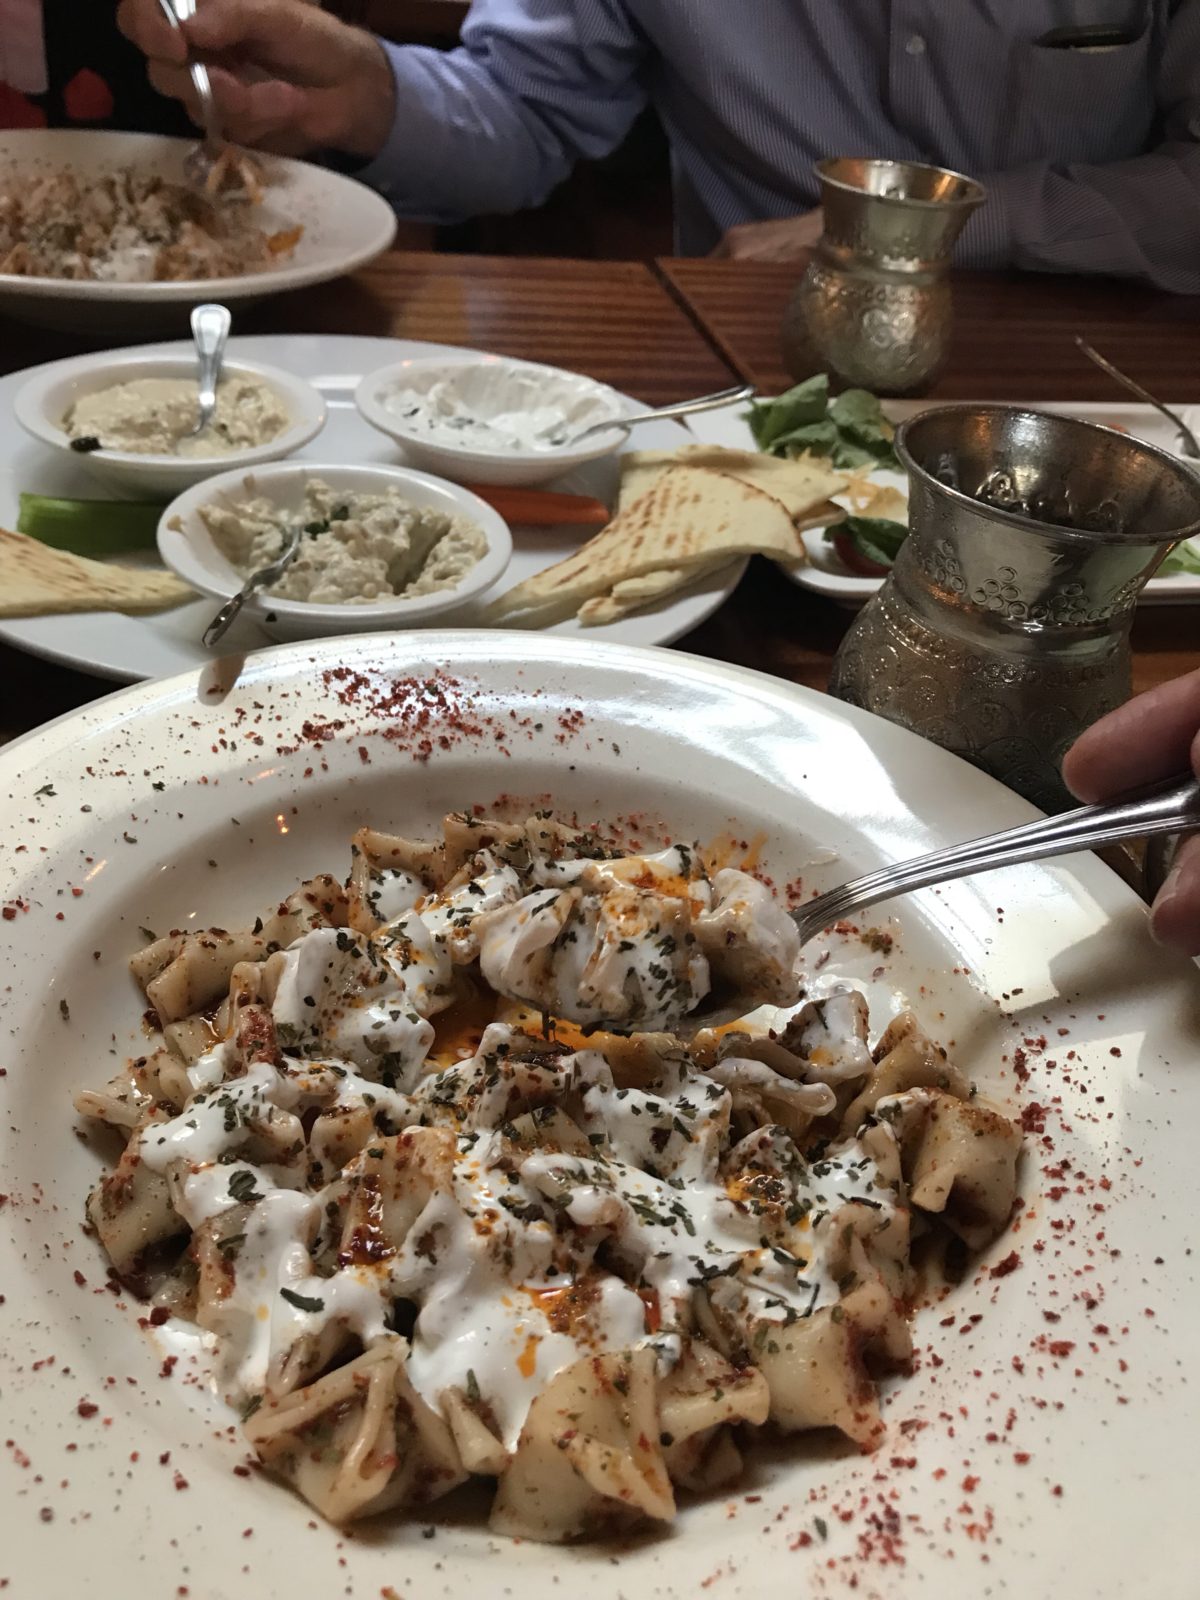
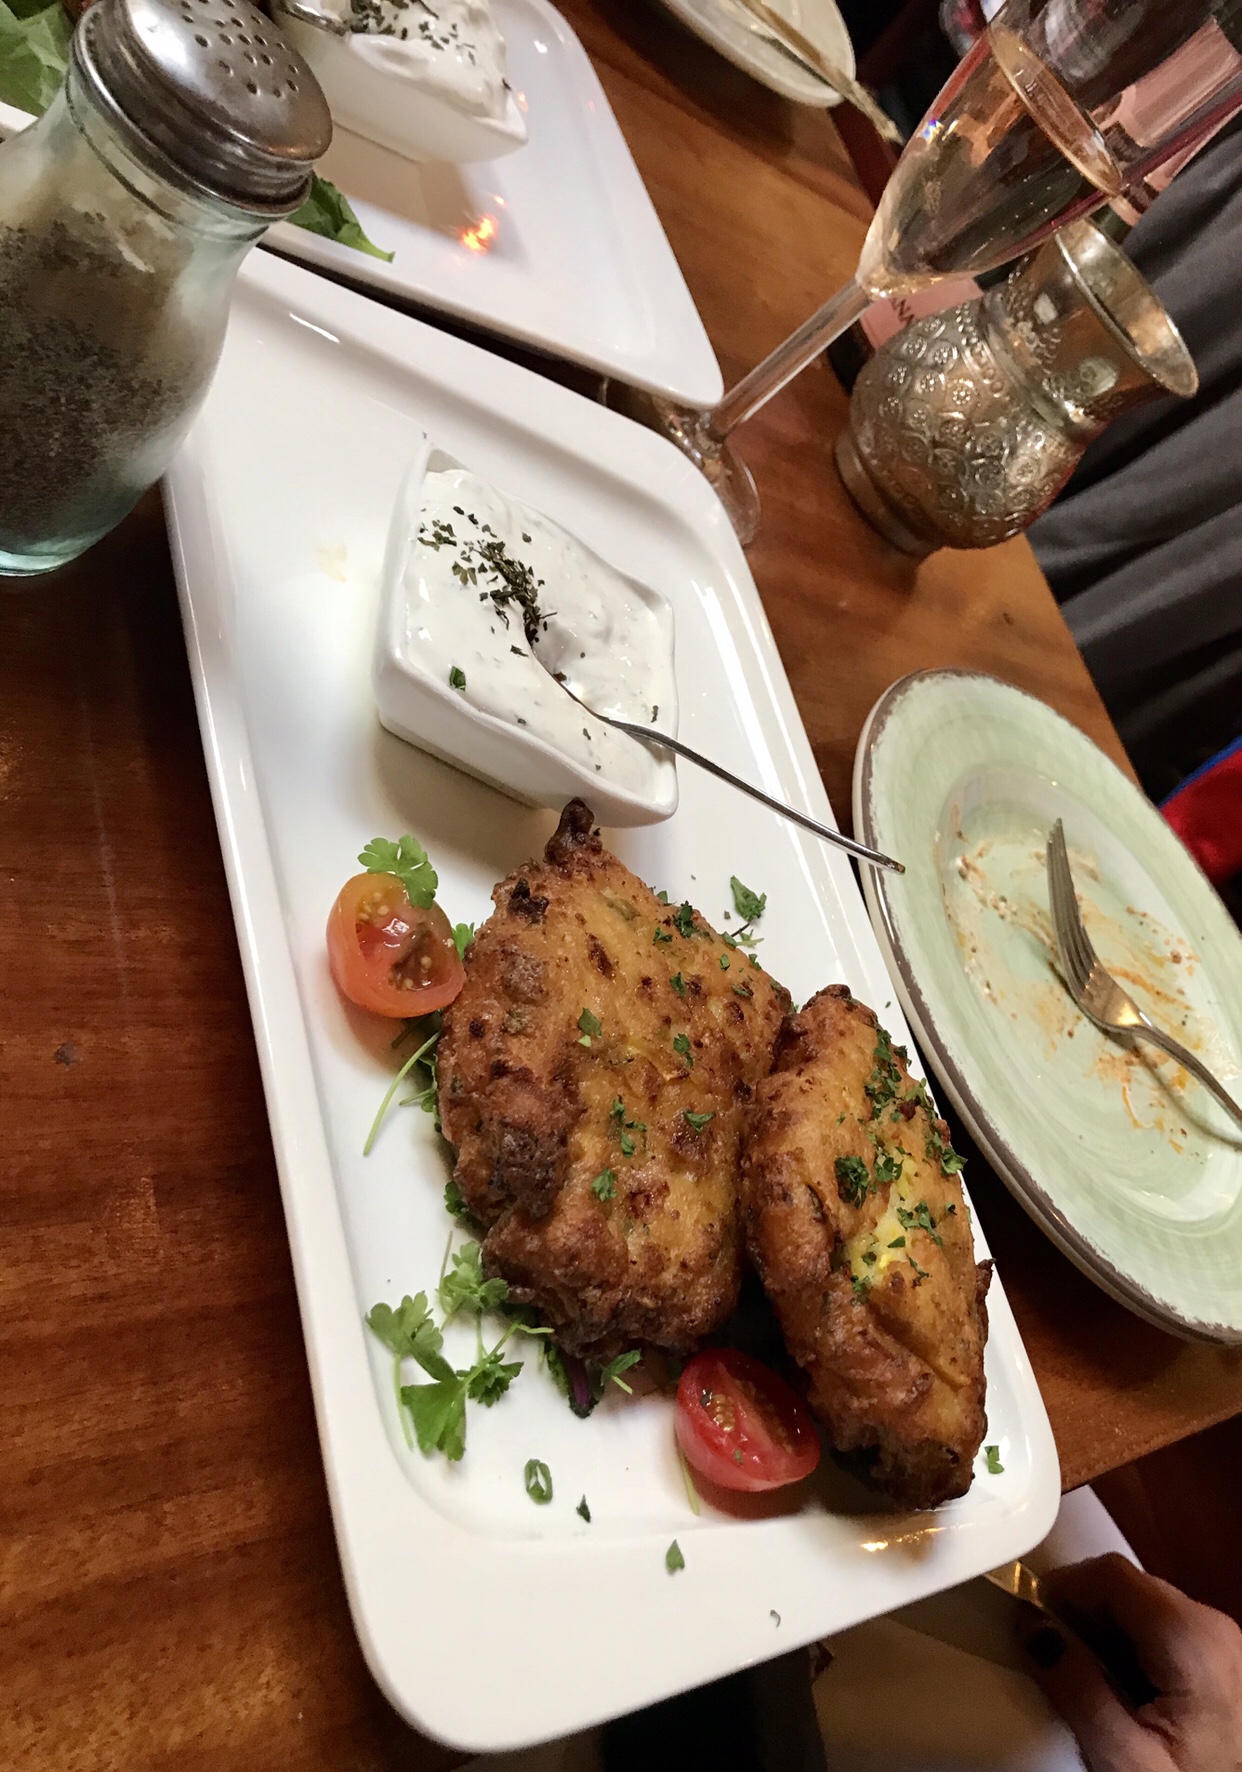
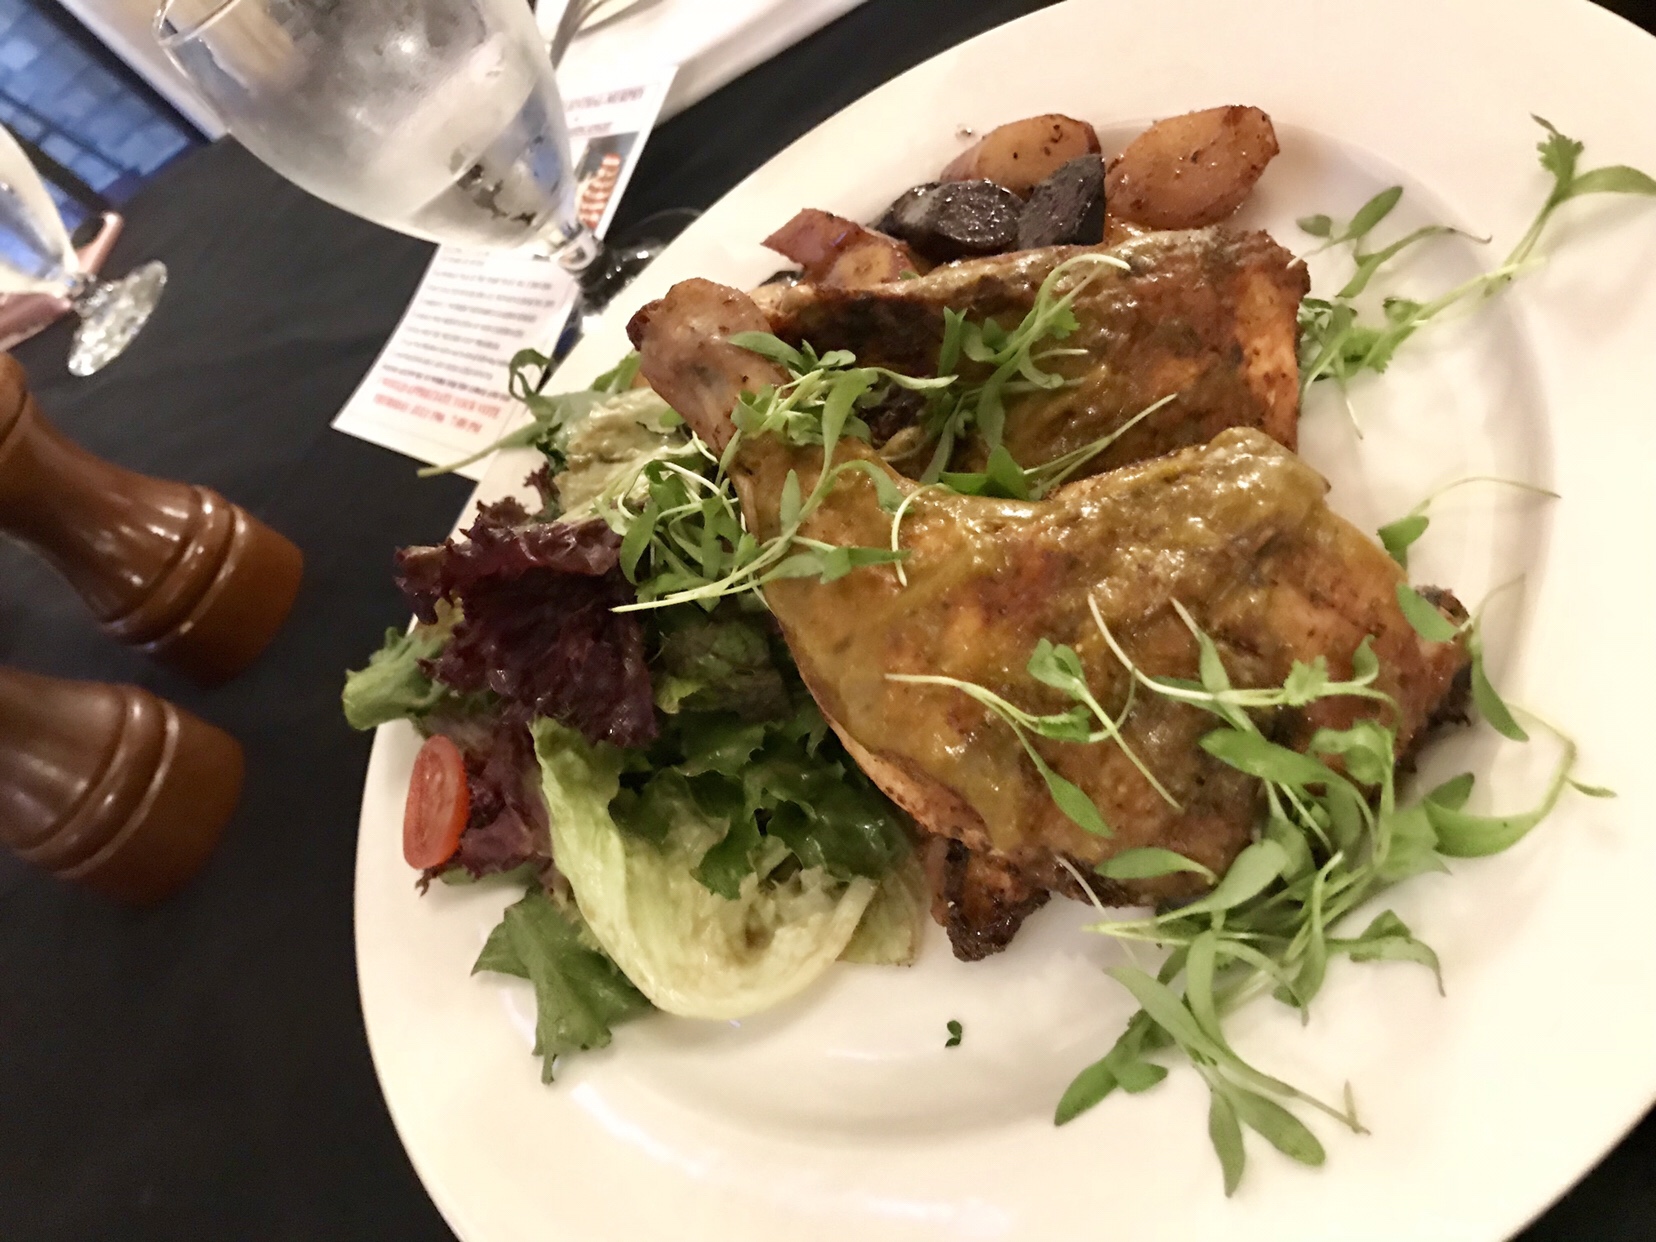
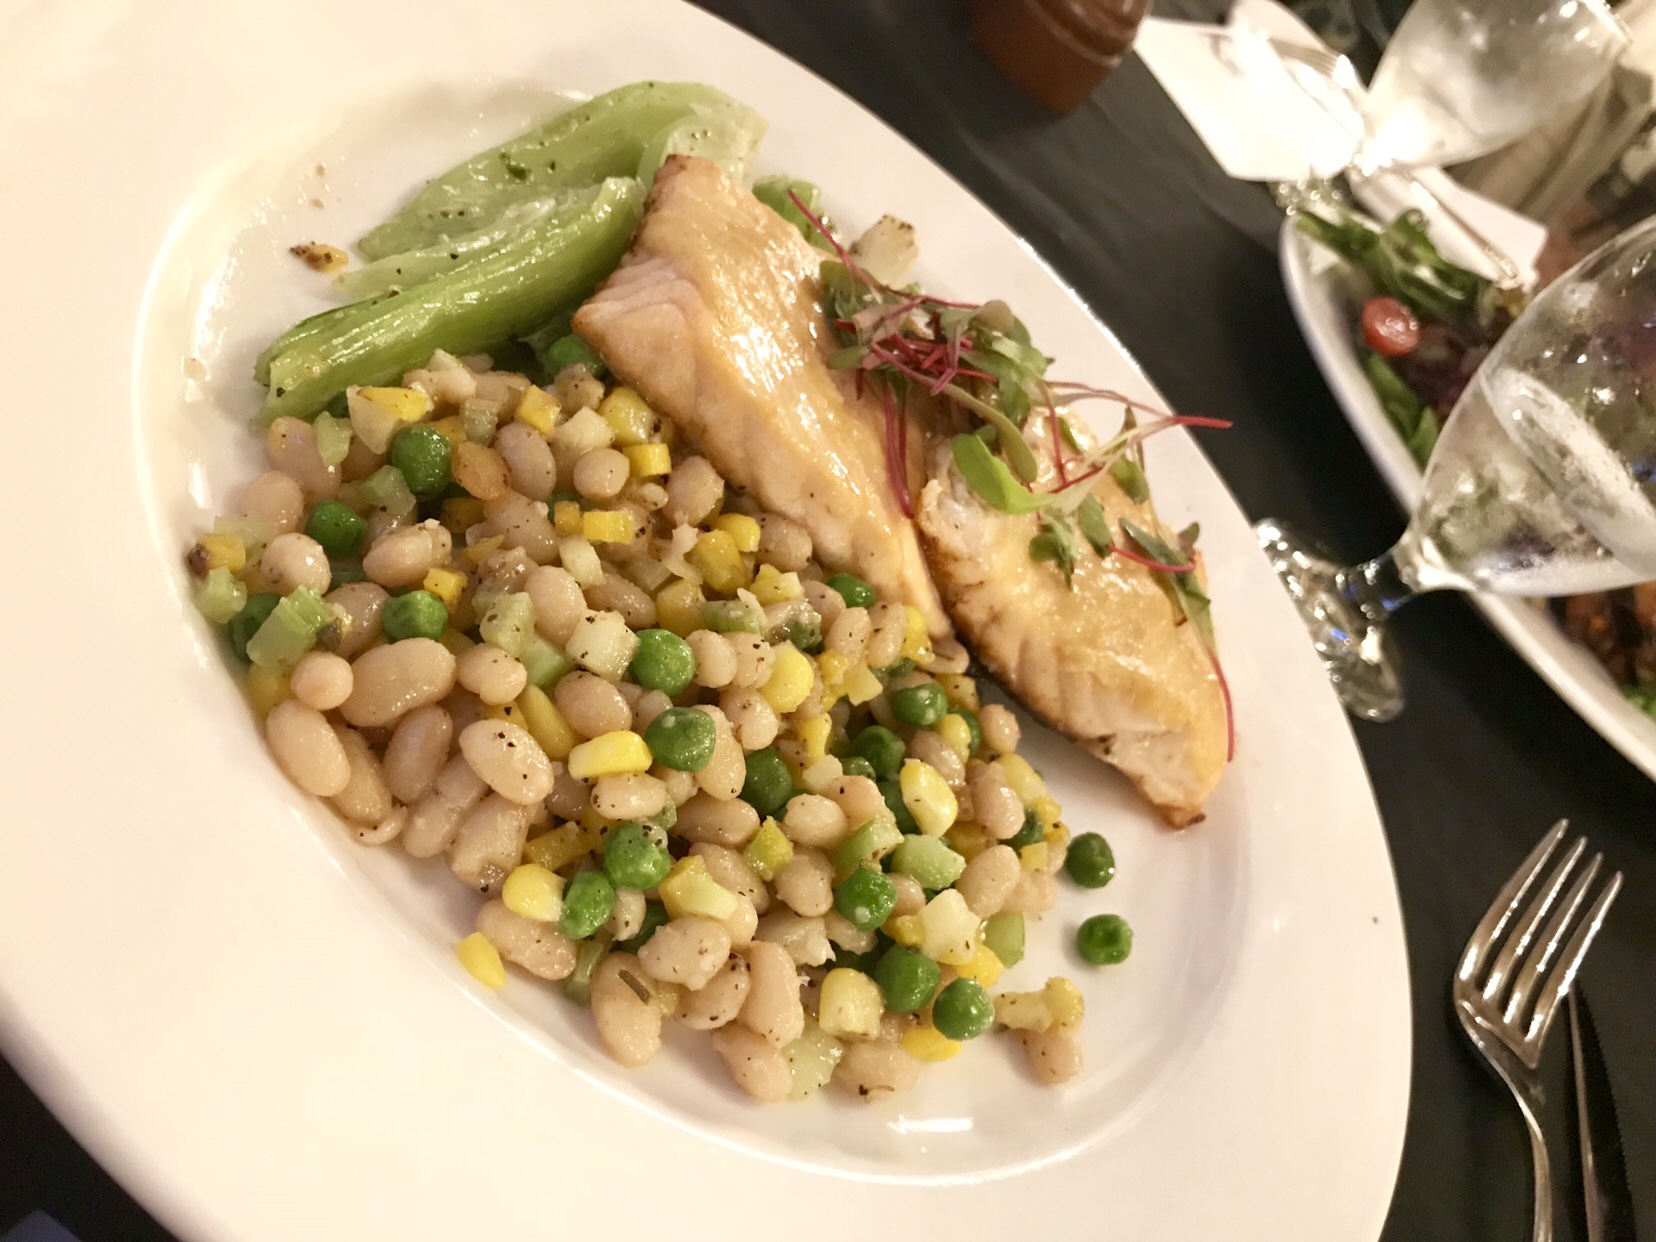
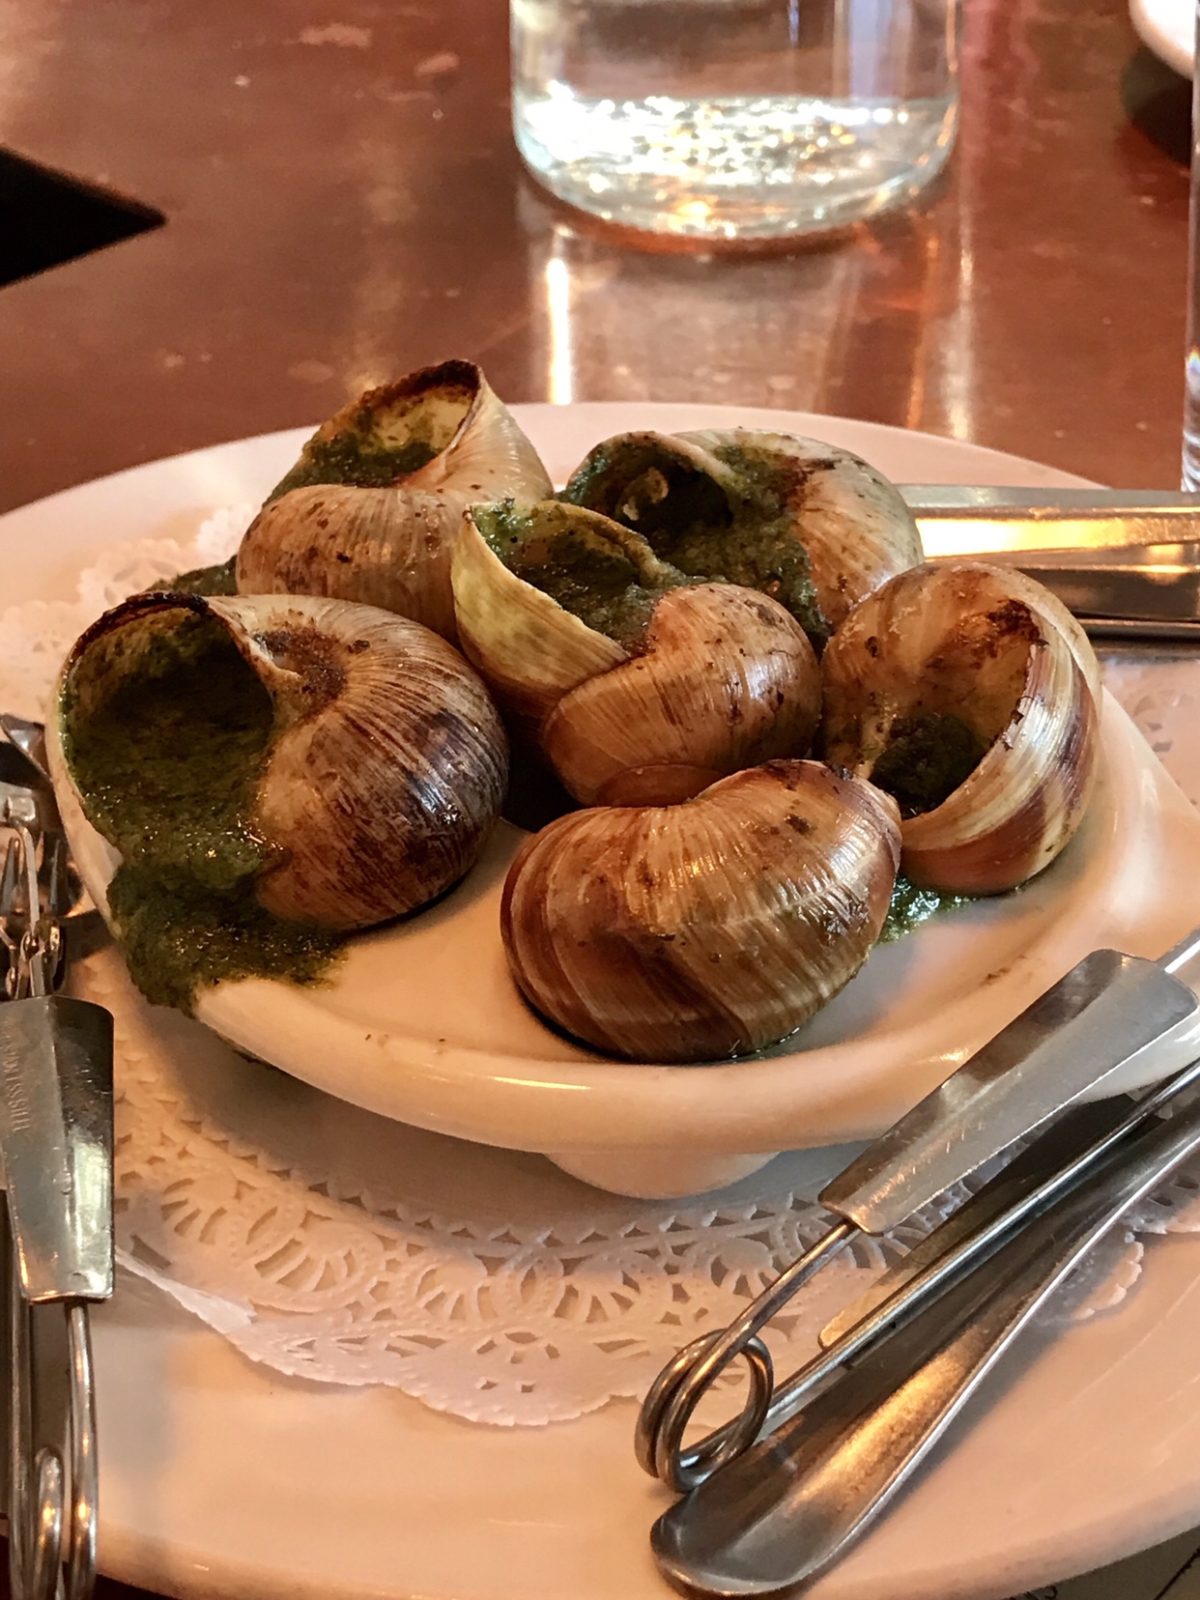
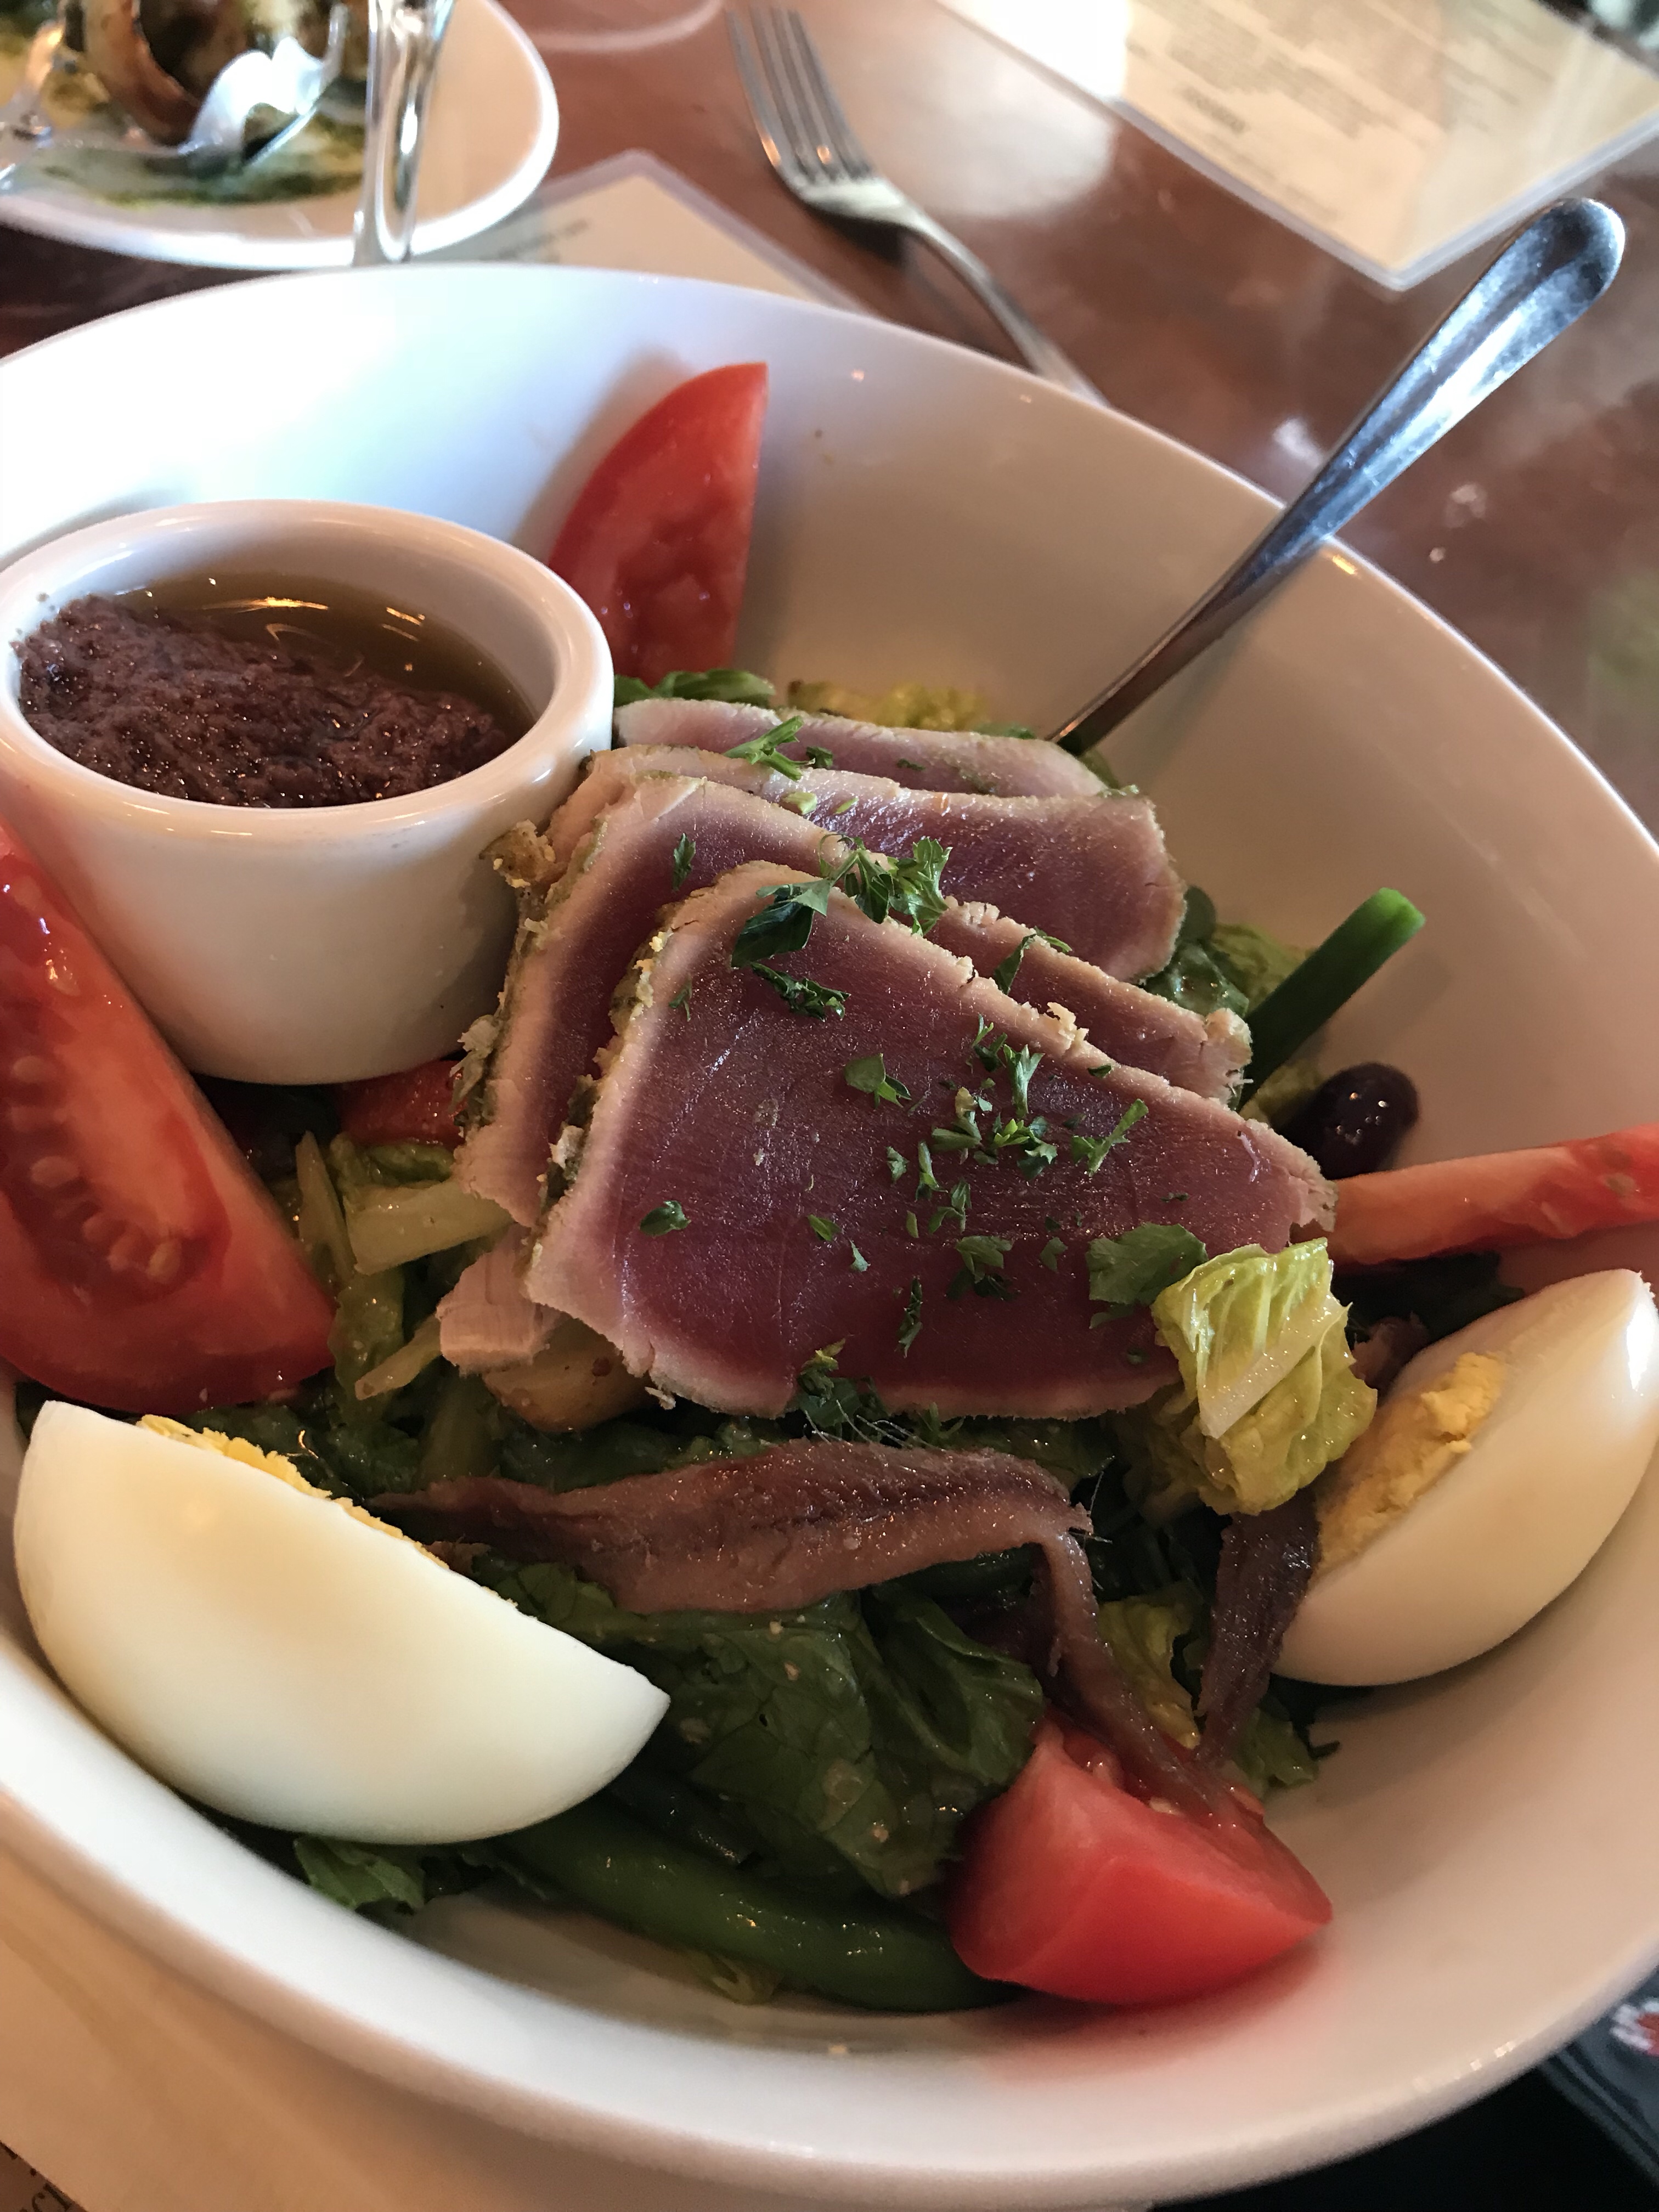
 Pera is definitely a place to come with a party of people who like to share. All of the options are delicious, and generous portions allow several people to each have a bite. The restaurant itself is beautiful: cozy while still feeling open, traditional art, beautiful hand-chiseled pewter glassware. The owners are charming, and sweet. Our waiter is usually one of the owners, Matin. He always remembers me and is very sweet. It is one of the hallmarks of a great local business when they know their regulars and go out of their way to make everybody feel special.








 Today, I invited a big group of friends to come see my newest client’s space at the Palace of Fine Arts. I’m working with a neat organization at an incredible location, and thought it would be an unexpected and fun place for a social get together.
 Step six: Now, fetch your herb scissors and gathering basket and go out to the garden. Gather sage, rosemary and oregano – at least you think it’s oregano. It might be basil, but both plants are so woody and leggy after the winter it’s almost hard to tell. Cut a stalk/branch of both. Head back to the kitchen, and bring along the gardening gloves. Realize it would be easy to change the mood by turning on some music – find a nice indie folk rock mix on Pandora, but don’t turn it up too loudly because you don’t want to wake your partner. Remember you meant to get out your apron.
 Step nine: Answer your barely-awake sweetie, who is gawking at the mountain of vegetables and the vacuum cleaner next to the oven, by telling him, “No, we are not having a large salad for breakfast.” Realize you can’t find your parchment paper, and ask said sweetie if he’d go find it downstairs. Kisses when he comes back, and then line your two big baking sheets with parchment. Flip your bowl of prepped potatoes onto one of the parchment lined sheets, and massage the garlic- and onion-infused oil into all the edges of your potatoes, spreading evenly into the corners of the pan. Lay a few sprigs of freshly washed, freshly harvested rosemary over the whole mess and stick it right into your nicely cleaned re-heating oven.
 Step eleven: Make sure your parchment is plenty big, with tall sides and nicely creased edges. Spread evenly the whole mess of veg into the corners of the pan. Turn off the Kitchen Aide, which has meanwhile perfectly beaten the eggs into a nice airy whip with no yogurt lumps, and pour the egg/herb mix all over the veg. Tip the pan to evenly distribute the eggs. Remember you didn’t add the cheese. Find the shredded mozzarella in the fridge, and scatter a handful or three across the pan; massage the cheese into the eggs and veg as though it had been there all along. Slide it into the oven and close the door. Set the adorable timer on the little retro wall clock you bought yourself for your birthday to about half an hour, as you note it’s now about 9:30am. Go shower.
 Step twelve: Admire your beautifully browning potatoes and fritatta in the oven. Remove both pans from the oven to begin to cool on the counter. Pull out two more lengths of parchment and some nice clean dish towels. Putter around, getting dressed and ready to leave. When you’re just about ready to load the car, lay a fresh sheet of parchment over the fritatta, and then layer a nice clean dishtowel, folded in half. Place the second pan, with the potatoes on top of the fritatta pan, and then add a parchment sheet and another clean towel. This way, they’ll stay warm and stack nicely in the trunk. Find your car keys, which are not where they belong. Remember the champagne. Also remember you promised to bring a friend’s left-behind umbrella and congratulate yourself on remembering something. Leave the house right on time a few minutes after 10am, with your sweetheart, a lovely pan of perfectly baked fritatta and some golden-roasted potatoes that smell divine.


 So about three weeks ago, I started my

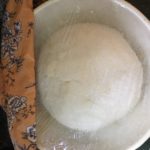
 I have a beautiful large wide shallow bowl from the 1930s that is perfect for this next step: Spray whatever large container you’re going to use for this raising with oil. I use my Misto and some nice olive oil for this, but if you have cooking spray that will work or you can smear it with butter by hand. Lay your dough ball in the bowl, and cover it; A great tip I got was to spray a piece of plastic wrap with oil and cover the bowl with that first. I dampened the dishtowel down with water and laid it over the top, before tucking it back in the warm oven. Allow your dough to rise in a covered bowl until it’s relaxed, smoothed out, and larger.
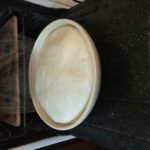


 Make two fairly deep diagonal slashes in each; a serrated bread knife, wielded firmly, works well here. This part was fun – it really works, and it’s super soft. A serrated blade will be better because it will keep you from using too much pressure and flattening your now-puffy loaves.
 Now, it’s time to bake! Slip the loaves in the oven for 25 to 30 minutes, until they are a very deep golden brown. I will add: Getting the humidity right is a key part of this step, and to ensure I was getting some extra moisture in my oven, I stuck a casserole pan filled with water on the lower shelf like a steam tray. This also helps the bread to form a nice crust. I carefully set my alarm, and by the time 25 minutes had passed my loaves were a little too well-done. Another time, I’ll set a shorter alarm to check them sooner – but they’re sill good. Be sure to remove the loaves from the pan and allow them to cool on a rack. Before mine were cooled, I buttered them to crisp up the crust, which also gave them a nice shine.
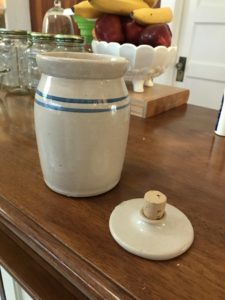 So, all in a successful first try! I’m looking forward to next time – and to continuing to tend my little starter in it’s new home in my fridge! Daddy found me this antique crock – it’s an old butter churn, and while do have the (rare) wooden tamper for making butter, I plugged the hole with a cork that now doubles as a nice lid handle. Should do me well in my fridge, until next bake!
